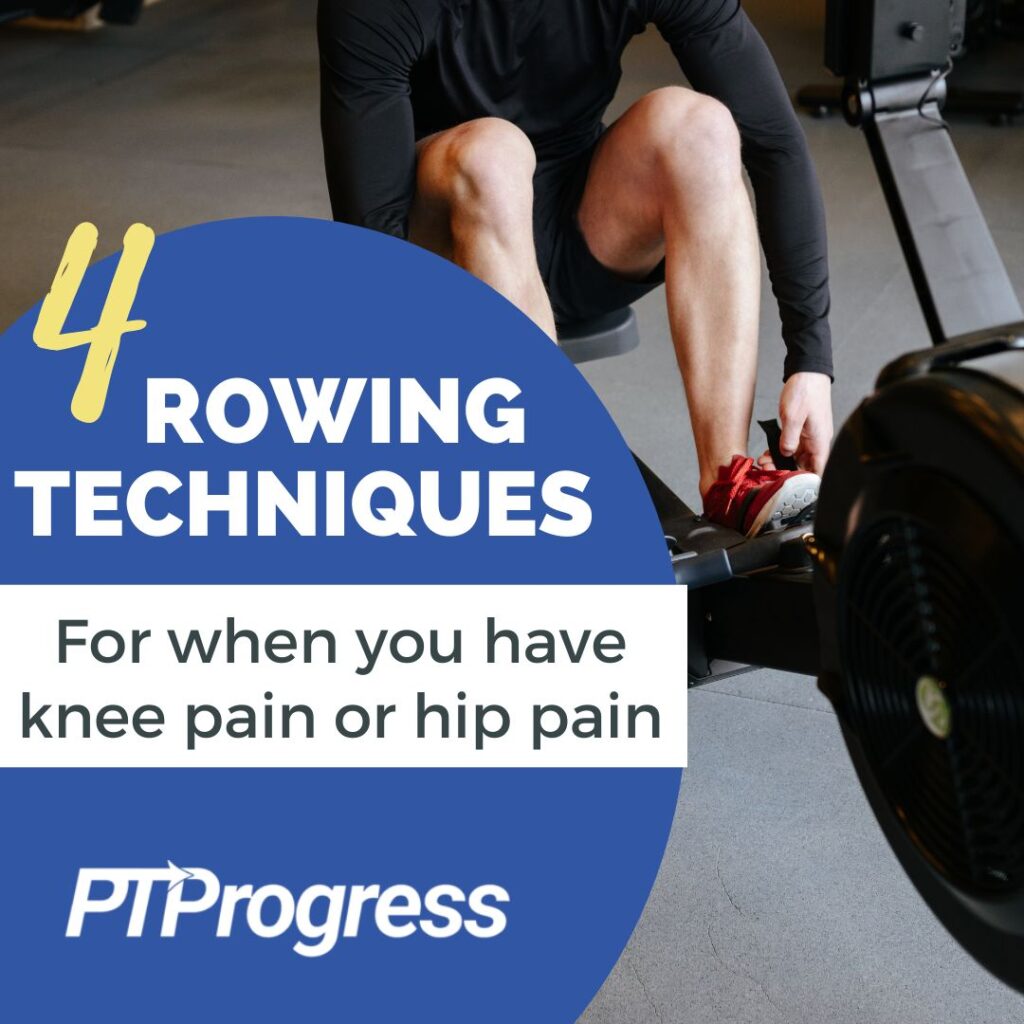
When you have knee pain or hip pain, your doctor may recommend rowing. After all, rowing provides a low-impact cardio workout and targets multiple muscle groups all at once. But you may be asking yourself, “Won’t my bad knee/hip get in the way?“
In this article, I’ll explain 4 creative ways to use a rower for knee pain or hip pain. These are techniques we use in the physical therapy clinic, but they’ll work just as well for you at home.
Benefits of Rowing with Knee or Hip Pain
Rowing is one of the best ways to work out. It’s not weight-bearing or high-impact, so it’s easy on the joints. You can raise your heartrate and burn calories at a clip that rivals running.
And, despite a common misconception, rowing doesn’t only work your upper body; it’s a full-body exercise. In fact, according to this source, the rowing motion recruits up to 86% of the major muscles in your body, which makes it one of the best exercises out there. And that’s not just my opinion as a physical therapist; that’s backed by research!
If you have knee pain, chances are you can still row, so long as your doctor recommends it. Whether you twisted your knee or sustained another non-surgical injury, rowing can help you:
- expand your range of motion
- improve blood flow
- maintain or build strength.
And if you’ve had surgery, such as on your ACL or a total knee replacement, you may still benefit from rowing. But always follow your doctor’s recommendations for when you can start.
Similarly, your hip pain doesn’t have to keep you from reaping the benefits of rowing. Maybe you feel a pinching pain in your hip when bending to sit or raising your leg to 90º. That pinching sensation is easily irritated, and you may wonder how the bending motion of rowing won’t make things worse. But as I’ll show later in this article, rowing can help retrain pain-free movement in your hip. With the following tips, you can outsmart your hip pain and gain mobility and strength.
How to Use a Rower for Knee or Hip Pain
Below are 4 techniques I use in the clinic to help my patients row through their injury, safely and effectively.
One Leg Out
This technique can help people with knee pain as well as hip pain. Whichever pain you’re dealing with, your first priority should always be to work within a safe, pain-free range of motion. You should be in control of the movement the entire time. One of the best ways to maintain control is by keeping your bad leg outside the rower, in what we call the One-Leg-Out Technique.
Give it a try: Lower yourself into the rower seat and place the foot of your injured leg in front of your rower’s footrests. This will allow your knee to still bend but at a gentler angle and in a narrower range of motion. For each stroke, you’ll push off with your good leg and let the one outside the rower follow. Check out my demonstration below:

Eventually, you’ll start to bring your injured leg closer to the machine to allow for a greater bend. As long as it’s pain-free, try pushing off against the ground with this leg as you initiate each stroke.
If you have knee pain: Monitor your progress outside of rowing, and once you can bend your knee to 30-40º without pain, bring your recovering leg back on the rower. Just be sure to limit how much you flex your knee into the “catch,” or starting position.
If you have hip pain: Positioning your foot outside the rower can help decrease the pinching feeling in your hip. Just progress slowly into full hip flexion, or a full 90º bend from your waist to your leg. Use the leg-out technique to glide into whatever pain-free motion you have, and you may find it increasingly easier to bend at your hip without pinching.
What About Rowing Intensity?
When you have hip or knee pain, increasing rowing intensity shouldn’t be your focus for the first week or two of working out. Prioritize a pain-free range of motion and aim to row for just 5 minutes at a time, with a slow and easy stroke. Your pain-free range of motion should start to increase, allowing you to gradually bump up the intensity of your training.
Patellar Glides
The second technique for using a rower with knee pain is called a patellar glide. I love to share this tip with my patients who have access to a total gym or rower, and it works particularly well for those who have knee pain when squatting. Pain in the knee is often brought on from standing up, but incorporating a patellar glide with that movement can help decrease pain.
To perform a patellar glide, begin sitting on your rowing machine with both feet strapped in. Place one hand at the base of your kneecap on the problematic leg. As you extend your legs and glide backwards, press on your kneecap, as if you’re trying to pull it up towards your pelvis. Relax the pressure as you move back into the squat position, then repeat this patellar glide each time you extend your leg. Be sure to tighten your quad muscles when you extend your legs to achieve full knee extension.

You can use this technique either as a warm-up or as a standalone exercise to promote that upward glide of the kneecap, which is one of the best ways to decrease generalized knee pain. Ideally, as your quads become stronger, they will naturally provide that tension or pulling on the kneecap. But in the meantime, patellar glides offer a great workaround, early after an injury and throughout your recovery.
And you don’t have to wait to get on your rower to try the patellar glide. It also works while you’re sitting in a chair. Simply lift your leg out in front of you, pressing on the kneecap as your leg extends forward. Relax the pressure as you slowly bend your knee and lower your foot to the floor.
Relax the Hip Flexor
This tip is primarily for patients suffering from hip pain, or specifically, pinching at the hip. You feel this pain especially when getting up and down from a chair or lifting your leg to 90º, and you may be wondering how you can row without aggravating that pain.
First, you need to get a feel for what’s happening in your hip. Everytime you raise your leg, you use your—aptly named—hip flexor to literally flex the hip. To feel it working, simply place your hand over your thigh at the top of your pelvis and lift your leg towards you. You may even feel the muscle bunch up into your thumb.
If this hip flexor muscle is pinched, it will become easily irritated each time it fires. But sitting on a rower can help you retrain pain-free movement in hip flexion and extension. Strap in your feet and slowly glide back and forth on the rower, focusing on keeping the hip flexor as relaxed as possible. To get some feedback on whether it’s truly relaxed, place your thumb on your hip flexor as you do this.
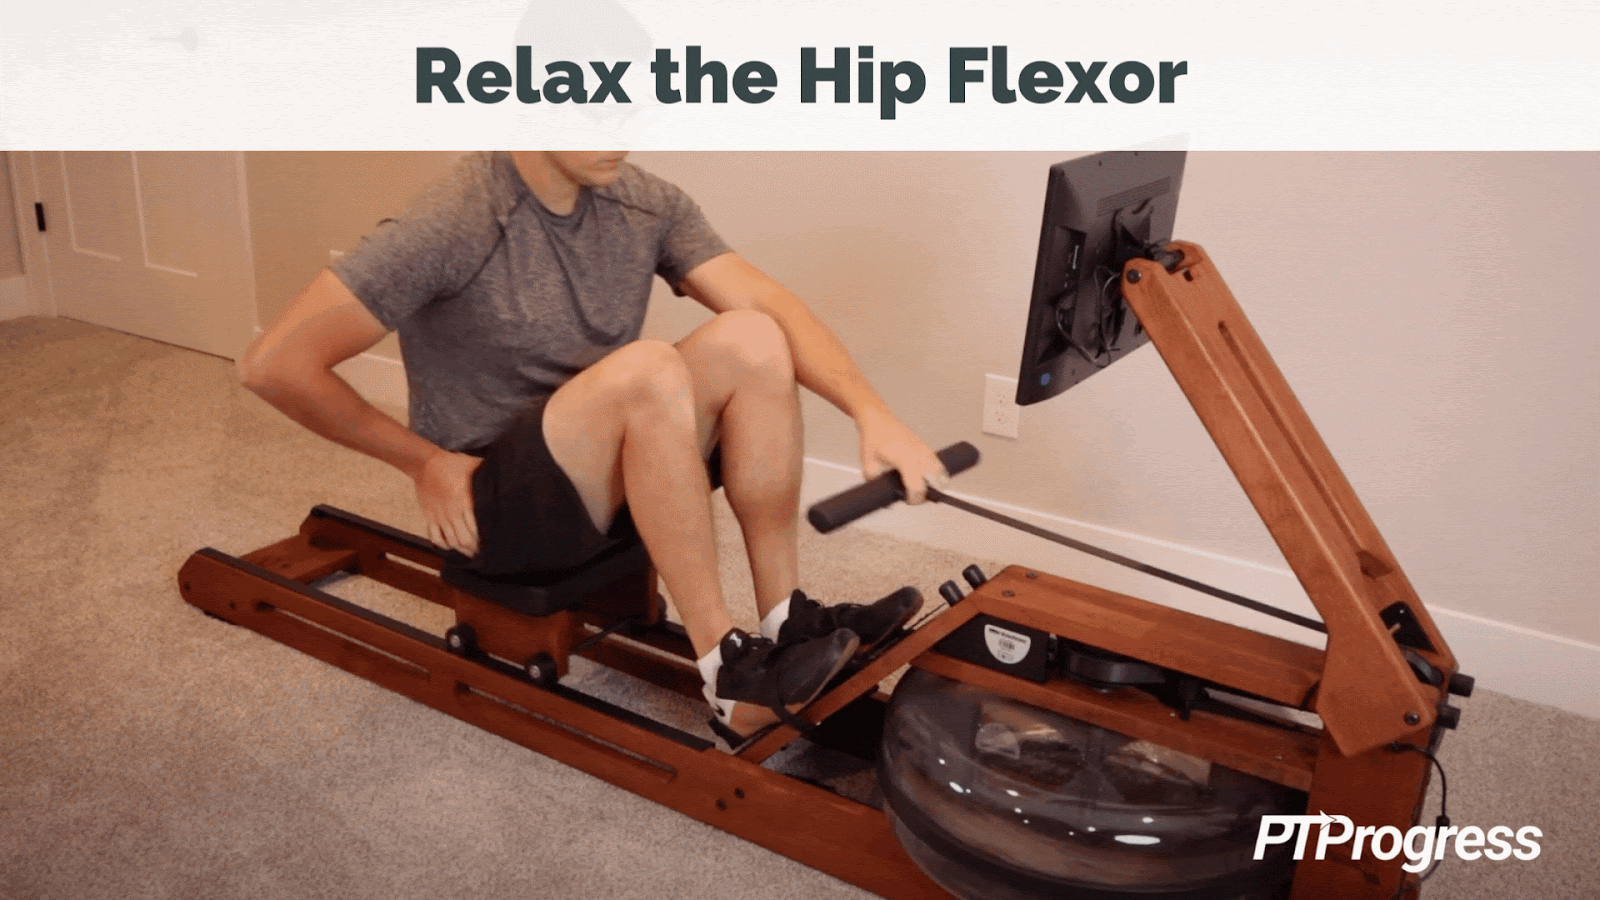
It may seem counterintuitive to try to relax while also performing an exercise, but you have to retrain your muscle memory. Remember, if your hip is pinched, that flexor muscle is probably turning on way too much. The rower will give you a chance to glide back and forth effortlessly so you can retrain this motion without a painful contraction and catching of the hip flexor.
Perform 2–3 minutes of this assisted gliding motion on the rower, doing your best to keep that hip flexor muscle relaxed as your seat moves along the path of the rower.
Focus on Proper Form
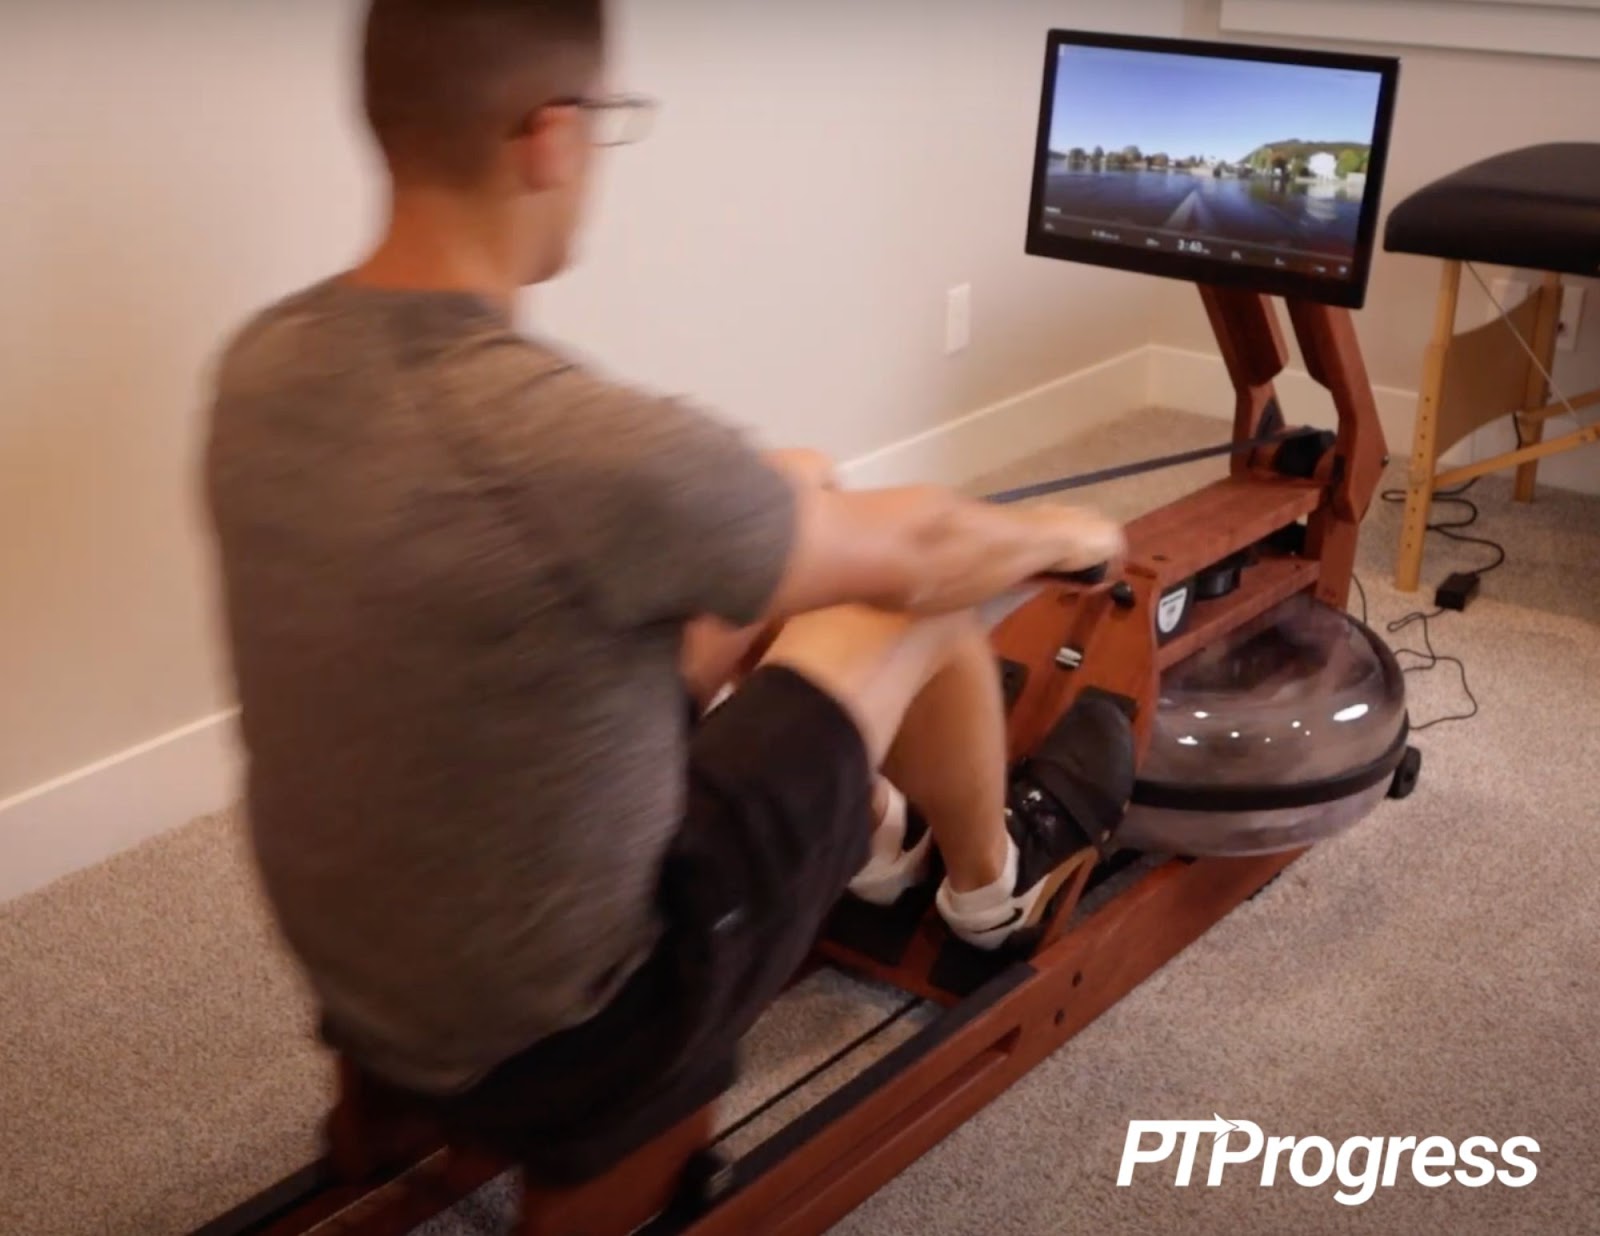
The fourth tip relates to virtually every therapeutic exercise we do in physical therapy: focus on your form. Specifically, be keenly aware of what muscles you are using as you row. Rowing can offer a fantastic workout for your glutes, quads, and your upper body. But the mistake I see most people make is relying too much on upper body strength instead of pushing through their legs.
There are four components to proper rowing form: the “catch” or starting position, the “drive” or initial straightening of the legs, the “finish” or pulling of the arms, and the “recovery,” which reverses the motion back to the catch. Most people fumble the drive and try to pull with their arms from the start. But rowing is primarily a leg- and hip-driven movement, with the upper body only working to finish out the stroke at the end of the drive.
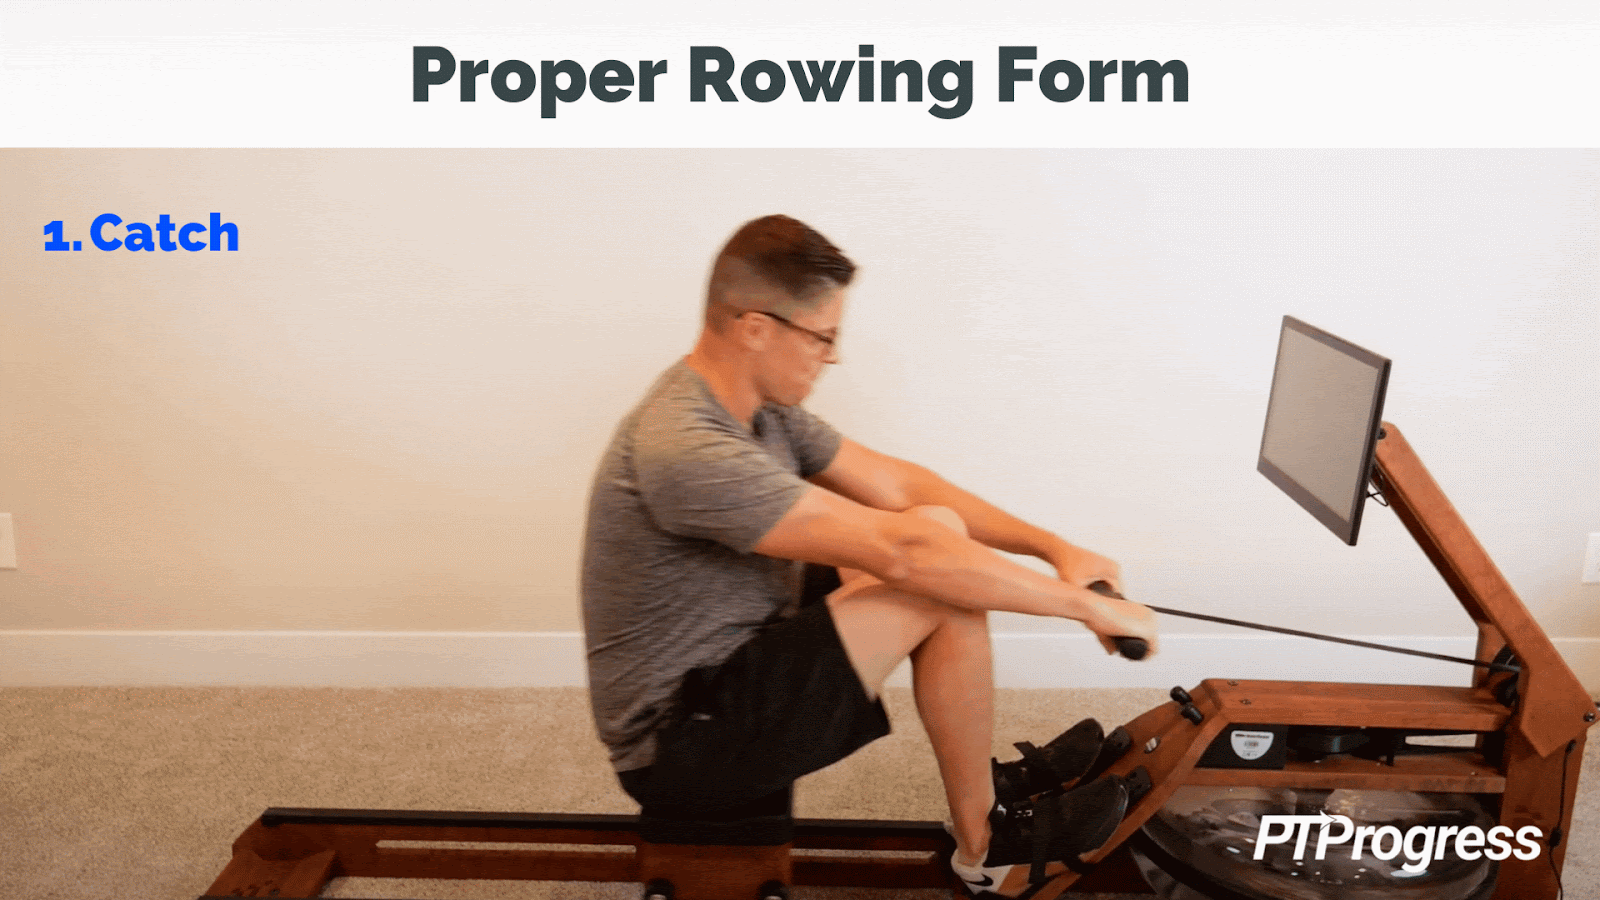
So when initiating the drive, make sure you start from your legs and wait to engage your arms until the very top of the move. Think “legs, hips, arms” as the sequence of muscles involved during the drive. You should feel your glutes and quads engage as you drive through your heels and extend your legs with each stroke.
Why is this important for your knee or hip pain?
Because strengthening your lower body and learning to properly contract your quads and glutes will hugely help you rehab at home. And more directly, focusing on your form and the muscles you employ will help you reap the full-body benefits of rowing. Once you can complete a rowing cycle with full range of motion without any hip or knee pain, you’ll be ready to increase the intensity and duration of your rowing. And as you progress in rowing, you will improve your cardiovascular endurance, strength, and overall conditioning.
Rowing with Knee or Hip Pain: Summary
I’m glad your doctor recommended that you consider rowing to help your hip or knee pain. It’s one of the safest, most beneficial exercises you can perform—even while injured, as these tips show. Just make sure to go slow, listen to your body, and keep your doctor up to speed on any changes in your pain.
The Rower I Use at Home: Ergatta Rower
You can use any rower for the above techniques, but the one I use and recommend to my patients is the water rower from Ergatta.
When you tug on a water rower, you’re turning a paddle through a basin full of water, emulating the real feel of rowing outdoors. After using chain-driven air-resistance rowers, common in gyms and clinics, I love the feel of water resistance. Not only is it smooth, quiet, and elegant, it also allows you to easily adjust the intensity of your stroke by changing your speed. The faster you row, the greater the resistance you’ll meet as the paddle moves through the water. Compared to those air-resistance rowers—or even expensive electromagnetic rowers—nothing beats the natural feel of a water rower. At least, in my opinion, which you can read in full in my Ergatta Rower Review.
Plus, with the Ergatta rower and its accompanying membership, you’ll have access to a library of interactive rowing games, tutorials, scaled workouts, and even scenic rowing experiences from all around the world.
Truth be told, the best workout machine is the one that you actually use. And I find that the motivating workout programs on the Ergatta rower can make all the difference. Gamified workouts take the drudgery out of exercise and make it easy to hop on this rower. Besides, it’s hands-down the most beautiful piece of workout equipment you’ll own!