Bunion: it’s extremely common, it’s even genetic, but it’s not inevitable. In this article I’ll give you 9 bunion exercises you can perform everyday to strengthen your feet, improve your posture, and stave off that big-toe bump.
Bunion: Overview
A bunion is a bumpy knob at the base of your big toe that arises from hallux valgus, a postural misalignment in your feet. Hallux valgus indicates that the intrinsic tendons of your foot have become slack—either due to age, trauma, or lifestyle conditions. As a result of this tendon laxity, the outer metatarsal along your arch drifts outward, and your big toe compensates by pivoting inward. The bump appears long after this misalignment has set in, and will only grow larger, more painful, and more problematic as long as hallux valgus persists.
Although there are a number of things you can do to mitigate hallux valgus and relieve bunion pain, below are 9 physical therapy bunion exercises that will help you stop the drift before it progresses.
9 Exercises for Bunion Treatment
Physical therapy for bunions offers a three-pronged approach to a complex problem. In PT, we use exercises to strengthen the feet and ankles, manual mobilization to reduce stiffness in the joints, and massage techniques to encourage a wider range of motion in the toes. I’ve included some of these exercises below; all are easy to do at home on your own.
For bunion exercises, remove your shoes and your socks, and perform each exercise on both feet, regardless if you have a bunion developing.
1. Manual Toe Mobilization
If it’s been a long day of cramping your toes in shoes, then you’ll definitely want to begin your workout with some mobilization exercises. The following routine can help reduce stiffness in your toes and improve their range of motion.
Place your foot on a footstool or on your knee so you can reach it easily with both hands. Hold your big toe in one hand while stabilizing your foot with the other. Then gently move the toe up and down from the lower metatarsal joint, where the toe attaches to the foot. Repeat 20 times up and down.
Next, move your big toe in a circle, widening the circle as tolerable. After 10–20 circles, reverse the direction. Once you have a good range of motion, try figure 8s. Then perform the same sequence of mobilizations on the other foot.
2. Toe Spreads
In a similar fashion, use your hands to manually separate each toe, massaging at the base of the toe where it attaches to the foot. Aim to spend at least 5–10 seconds on each joint.
For an added challenge, try to do this with no hands. Place your feet on the floor and, while keeping your heels on the floor, isolate and articulate each toe up and apart. Complete at least 10 toe spreads on both feet before moving on to the next exercise.
3. Big Toe Abduction
The term sounds like a kidnapping, but abduction just indicates sideways movement away from the body. In this exercise, the movement you’re aiming for is not up but out, with a focus on moving your big toe as opposed to all your toes.
Keep your foot flat on the floor, and inch your big toe out away from your other toes in a reversal of the hallux valgus drift that’s been giving your foot so much trouble. Repeat 20 times before resting and performing on the other foot.
4. Foot Dome
Foot doming is a valuable bunion exercise that can also help combat plantar fasciitis. This simple movement helps you isolate and strengthen the intrinsic muscles of the foot that play a pivotal role in your gait and posture.
Sit or stand with your foot flat on the floor. Place a penny right underneath your arch, then make a foot dome by scooping the middle of your foot up and away from that penny.
This slight movement may feel strange at first, so think of it like cupping your hands, but with your feet. Be careful not to scrunch or bend the toes too much and focus instead on contracting the muscles in the middle of your foot.
Hold each dome for a second or two before releasing. Repeat 10-15 domes per foot.
5. Resisted Toe Extension
It wouldn’t be a physical therapy workout without a resistance band. And if you thought your big toe was too small to use a therapy band, think again.
Take a seat and prop your ankle on your knee or a footstool so you can reach your foot better. Then wrap a resistance band (preferably a “light” one, or one that isn’t too difficult to stretch) over just your big toe, securing it taut from below.
Use your other hand to hold the ball of your foot and stabilize it, so you can better isolate the big toe. While resisting the band, flex and raise your big toe upward, hold for 2–3 seconds, then repeat 15–20 times on each foot.
6. Resisted Toe Abduction
Now change the positioning of the resistance band so it wraps around the outside of your foot. Hold the band taut on the pinky side of your foot and place your heel on the ground or on a footstool for stability.
Perform the same abduction motion you did before, articulating your big toe outward away from your toes, but this time while stretching the resistance band. Hold for 2–3 seconds at full abduction before repeating the exercise, up to 20 times on each big toe.
7. Heel Raises
Heel raises are like a bicep curl for your calves—simple and to-the-point yet profoundly effective. And working on your calf muscles can directly improve your foot health. Strong calves help protect your ankle joint and keep your feet from pronating (or collapsing inward into your arch), which will only worsen your hallux valgus condition.
To perform heel raises, stand tall and shift your weight onto the balls of your feet, lifting the heels for a few seconds before resting. Try not to rock back and forth as you do this, keeping your weight centered over your big toes and not collapsing inward or outward. Perform 2–3 sets of 20 controlled heel raises.
8. Marble Pickups
In physical therapy, we like to introduce exercises disguised as functional movements, even as games or challenges. So if you ever tried to pick things up with your toes as a kid just for fun, then you’ll enjoy this part of the sequence.
Set out 15 large marbles (or use a game dice if you don’t have marbles) and give yourself a nearby target—a bowl or plate into which to drop the marbles. Using your big toe primarily, grip the marbles one-by-one against the ball of your foot, lift them into the air and drop them into your target. If you only have one marble or die to use, then practice extracting them out of the bowl or plate with the same technique.
Perform 15 pickups on each foot. You’ll get even better at it with practice!
9. Tennis Ball Roll Outs
One of the best ways to finish an exercise session is with a little massage. It can encourage blood flow while allowing your muscles time to relax and lengthen after all that contraction.
Sit with your feet on the floor and tuck a tennis ball under the arch of your foot. Roll the ball along the arch, up and down, as well as crosswise and in a circular motion. For a more intense massage, lean your weight onto that leg, or even stand while you do this. Roll out your foot muscles for 2–3 minutes before switching to the other side.
Bonus Bunion Exercise: Walking in Sand
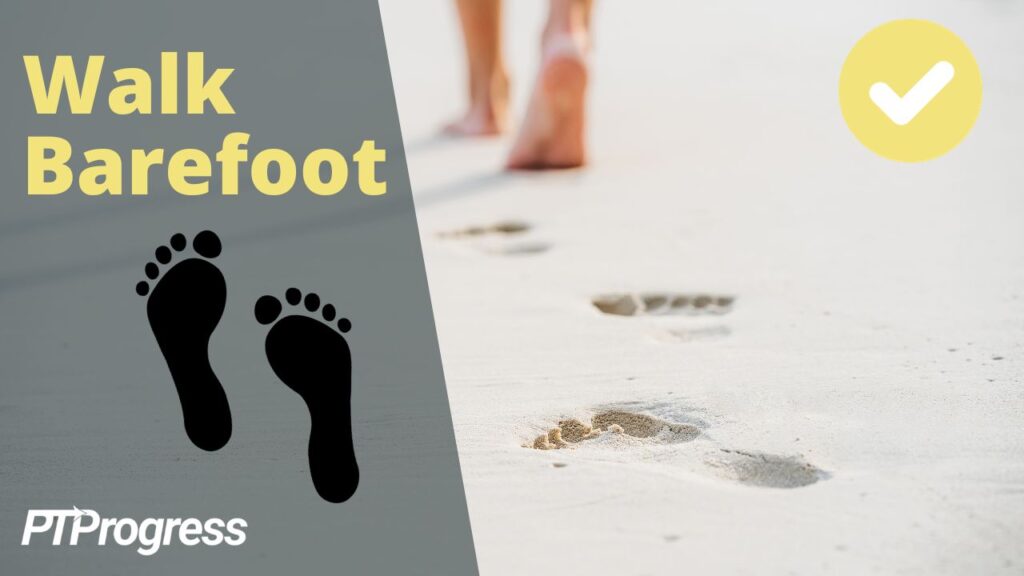
Long walks on the beach aren’t just for the romantic. They can also provide a unique workout for the intrinsic muscles of the foot while strengthening the ankles and calves. If you’re lucky enough to live near a beach, carve out some time each week to kick off your shoes and walk barefoot in soft sand, keeping an eye out for sharp objects. Start with a 15-minute walk, then try to increase your time little by little as your feet grow stronger.
Bunion Exercises: Final Thoughts
It’s easy to overlook the importance of foot strength, but ignoring a postural problem such as hallux valgus can lead to bunion deformity, pain, and dysfunction. Besides following these exercises, check out the tips in this article so you can stay ahead of your hallux valgus and enjoy healthy feet for years to come.


