A few years ago I purchased and completed the Six Figure Blogger course from Create and Go. My blog has turned into a business and now generates between $5,000 and $10,000 a month. If you’re on the fence about the course I hope this Create and Go review helps to answer some of the questions you have.
Create and Go: Six Figure Blogger Course Review
To be clear, I personally purchased and completed the Six Figure Blogger course without sponsorship or special treatment. This review is my personal and honest take on the Six Figure Blogger course.
Here’s the thing, I’ve been making money with a blog for quite some time now, but my goals is to take it to the next level.
I stumbled on Alex and Lauren’s story by accident. They were everyday people who started blogging in 2015 and within a year they had earned over $103,000 with their health and wellness blog.
But it wasn’t all a success. Their first blog that year failed. So they pivoted based on what they learned and built a successful health and wellness blog.
So it got me thinking: Hmmm, I’m making $30,000 a year blogging. What do they know that is earning them 30,000+ a month?
Actually, their last income report was over $152,000 for the month, which is awesome.
So I invested in myself and decided to take their course Six Figure Blogger.
Within one week, I had a new template for my email funnel, product sales funnel, and reformatted a giveaway based on their suggestions – and I’m starting to see some awesome traffic results. I’ll share those wins in a second.
***Update March 2020 *** Since taking the six figure course in April 2018, I’ve earned an additional $3,000 PER month with my own digital products. These earnings are in addition to affiliate income which averages about $5,000 a month, so it just continues to add to my total goal for online income each month. 🙂
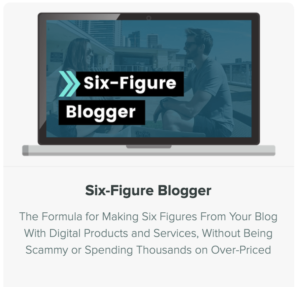
Here’s the breakdown of what you’ll learn in the 6 Figure Blogger Course
Foundations and Framework of the Six-Figure Blog
Selling Digital Products Via Affiliate Marketing
Creating Digital Products (Idea Forming and Planning)
Create a Profitable eBook from Scratch, Step-by-Step
Create a Profitable eCourse from Scratch, Step-by-Step
How to Create High-Converting Sales Pages
Get Thousands of the Right Visitors to Your Sales Pages
Building Relationships With the Email Trust Funnel
Create and Go Review
I think the best Create and Go review I can provide simply shows you a practical way the course helped me. There’s so much good information in the course, so it doesn’t matter if you have 0 followers or don’t even have a blog yet. You’ll learn the basics quickly, but also jump ahead years with the tips they share.
You can be at any stage when you start one of the Create & Go courses. I considered myself to be fairly knowledgable about blogging and I still learned ways to improve my blog. Here were some of the biggest takeaways that helped me immediately after I completed the Six Figure Blogger course.
How 6 Figure Blogger Helped Me
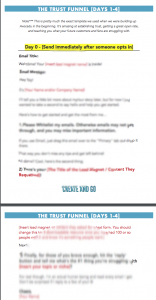
Email Trust Funnel Template
1. I scrapped my email funnel and started using their template.
This is one of the most daunting processes for new or intermediate bloggers. It’s hard to build an email funnel that converts. The Six Figure Blogger Course actually gives you a template for building a trust funnel that converts your list into paying customers. You can use the email funnels to promote your own products (like I’m doing with my plantar fasciitis course) or just provide value and promote products that you recommend.
The point is to get started with your email trust funnel and they made it super easy with word for word templates. This easily saved me 5 hours and weeks of testing.
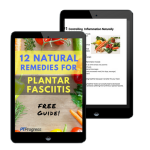
2. I Redesigned One of My Free Guides.
Based on their recommendations, I realized that I really wasn’t drawing in enough people with a free guide. Instead of trying to close the sale on the ‘first date’, I really should have been giving away some valuable content. The very next day after I completed the course, I spent 5 hours putting together a freebie that could be consumed in 5 minutes.
My Newly Designed Giveaways!
I posted it up on ConvertKit and immediately started to see people signing up for the giveaway. Of course, this leads directly into my Trust Funnel that ultimately gives the reader valuable content mixed with an opportunity to purchase the product I created that solves a pain point.
Here’s the thing: I’ve been blogging for a while now and understand a lot of what they were saying. My biggest problem was that I wasn’t putting the pieces together. Their course was the fire I needed to reshape my approach so that I could be smarter about promoting my products and helping those who subscribed to my email list.
3. How I Started to Reach More Customers in the First Week
Alex and Lauen go into a lot of detail in this course. I listened to it all, especially the lessons on reaching more customers.
Within one week, I created 2 product specific articles based on their recommendations and started ranking on page one of Google for that article with +25 clicks via organic traffic. This is in the first week.
I had written a few other helpful articles but wasn’t ranking like I wanted to rank, which meant fewer clicks and fewer opportunities for someone to download my free guide and get added to my email trust funnel.
Within one week, I now had two fresh articles that were outperforming my established articles. They have brought in more traffic in that one week than my previous 5 articles combined for the month.
Is Six Figure Blogger Worth It?
If you’ve made it this far in my review, I think you’ll do well with the course.
But you have to put in some effort.
You can’t expect to watch the course and expect to make 6 figures. It’s not going to happen.
But if you follow their advice and use their templates, I have no doubt in my mind that you’ll increase your audience, build your email list, and have everything you need to design and create products that can generate a healthy bit of revenue for you.
Plus there’s a great group of entrepreneur bloggers that share successes and strategies in the private Facebook group.
The course isn’t cheap, but it’s not outrageous either. It’s one of the more reasonable courses out there actually. Based on the material they cover and the time you’ll save with the templates they provide, I think you’ll find it to be worth taking.
I was not paid to write this review. I personally purchased the course and finished it on my own free will.
Create and Go Courses
Alex and Lauren have created a few other helpful products designed to take your blog to the next level. If you’re interested in learning from the mistakes and successes of others, you’ll probably find these Create and Go courses to be really helpful.
Create and Go Discount / Sale!
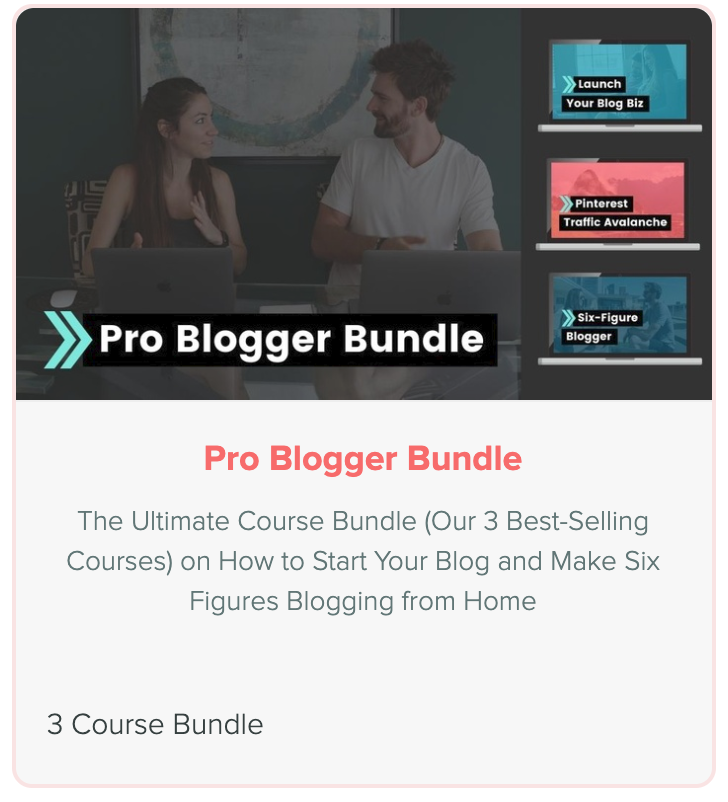
Alex and Lauren have combined all the courses to give you a $144 discount on all their courses. That’s nearly a 20% discount on all their content!
Right now you don’t need a Create and Go coupon to get this deal. They’re making it available to everyone who purchases the Pro Blogger Bundle. I’m not sure how long the bundle will be available, but it’s the best discount they have on their courses as of now.
One Last Word
There are a lot of blogging courses out there. As someone who has been through the trenches in the blogging world since 2010, I was well informed of many tools and strategies bloggers use to make money online.
Tim Fraticelli is a Physical Therapist, Certified Financial Planner™ and founder of PTProgress.com. He loves to teach PTs and OTs ways to save time and money in and out of the clinic, especially when it comes to documentation or continuing education. Follow him on YouTube for weekly videos on ways to improve your financial health.